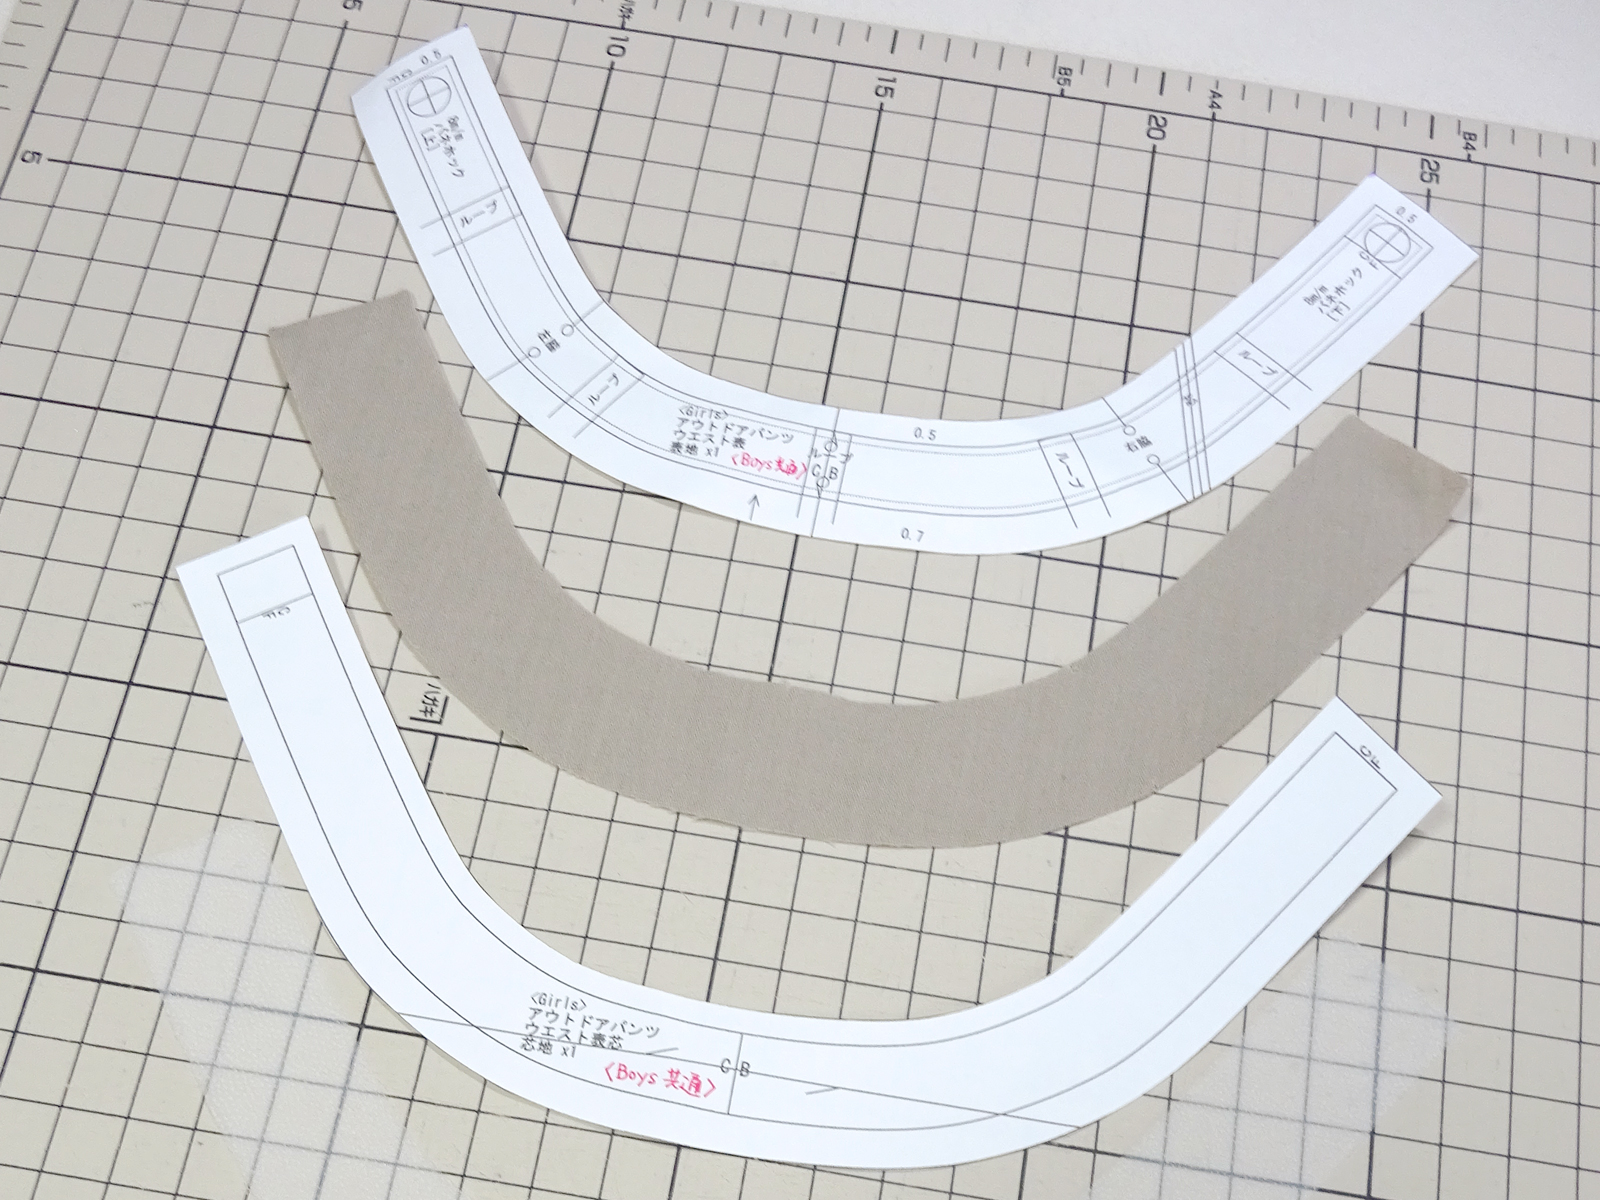
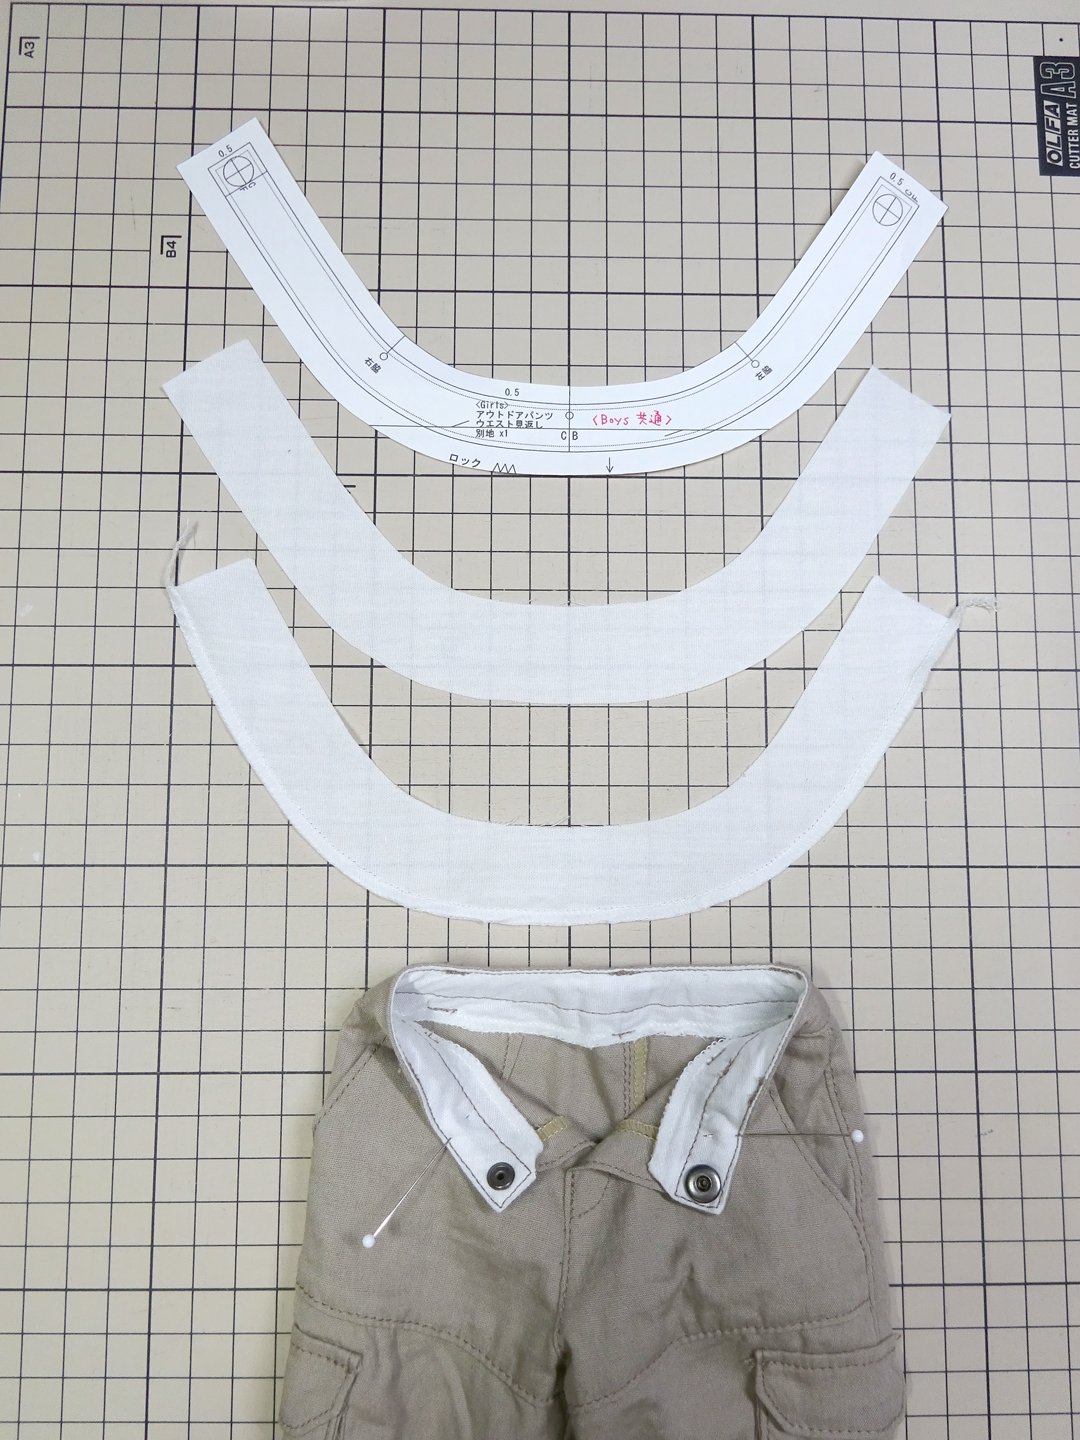
Today, I’m making the waist pieces for the outdoor pants.
今日はアウトドアパンツのウエストパーツ制作。
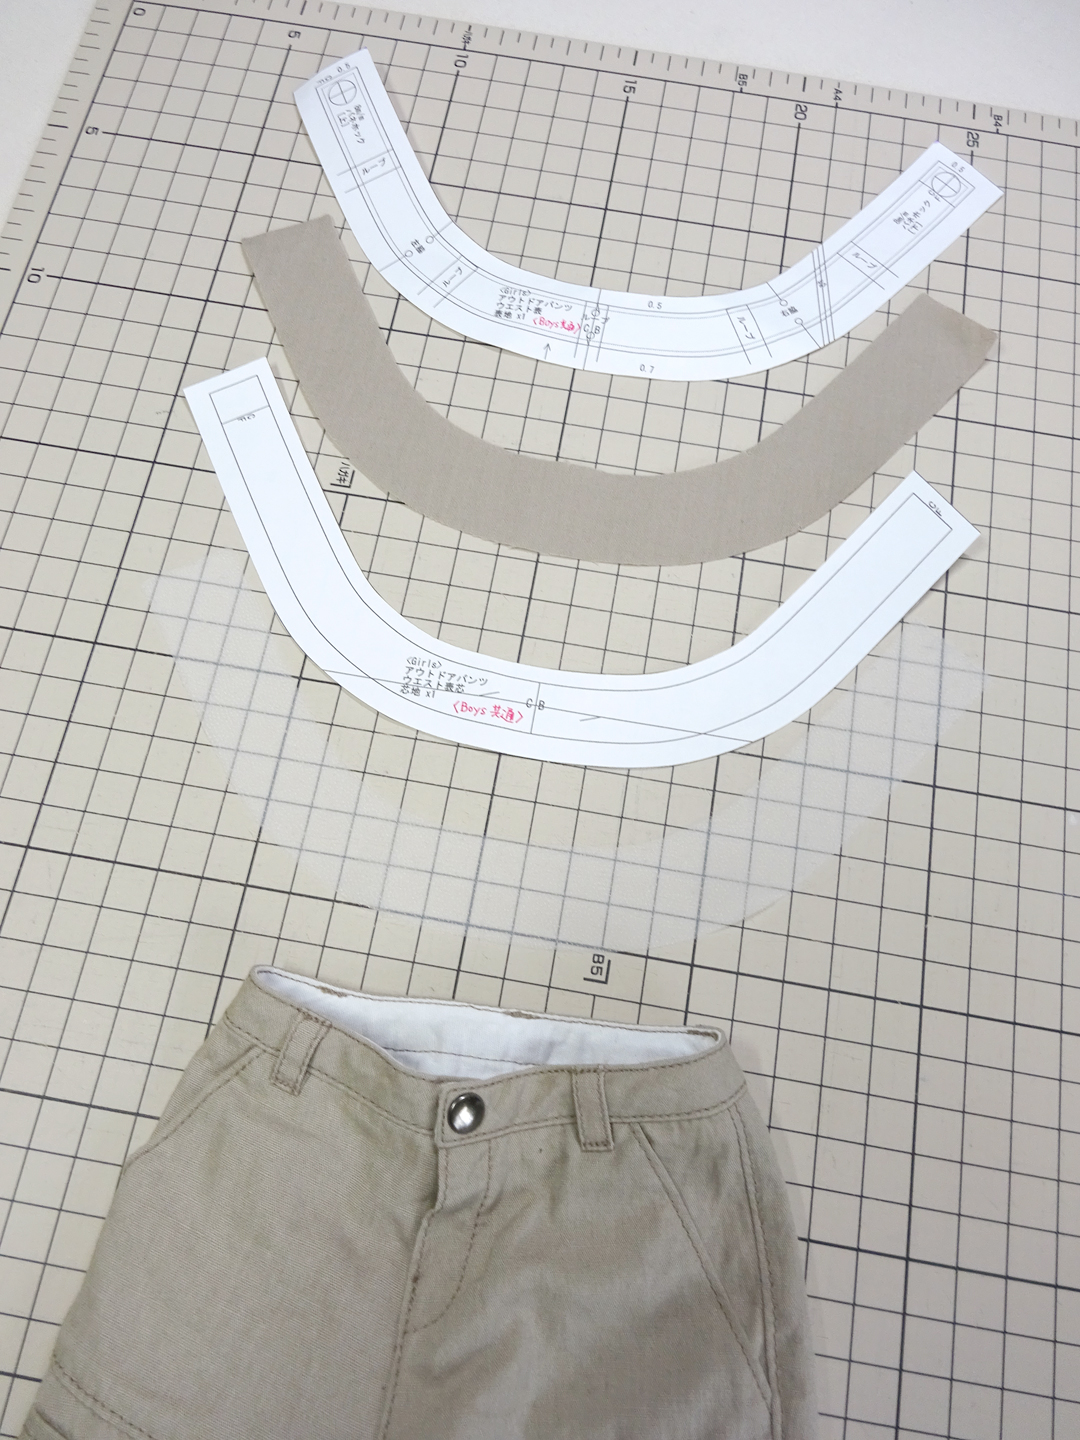
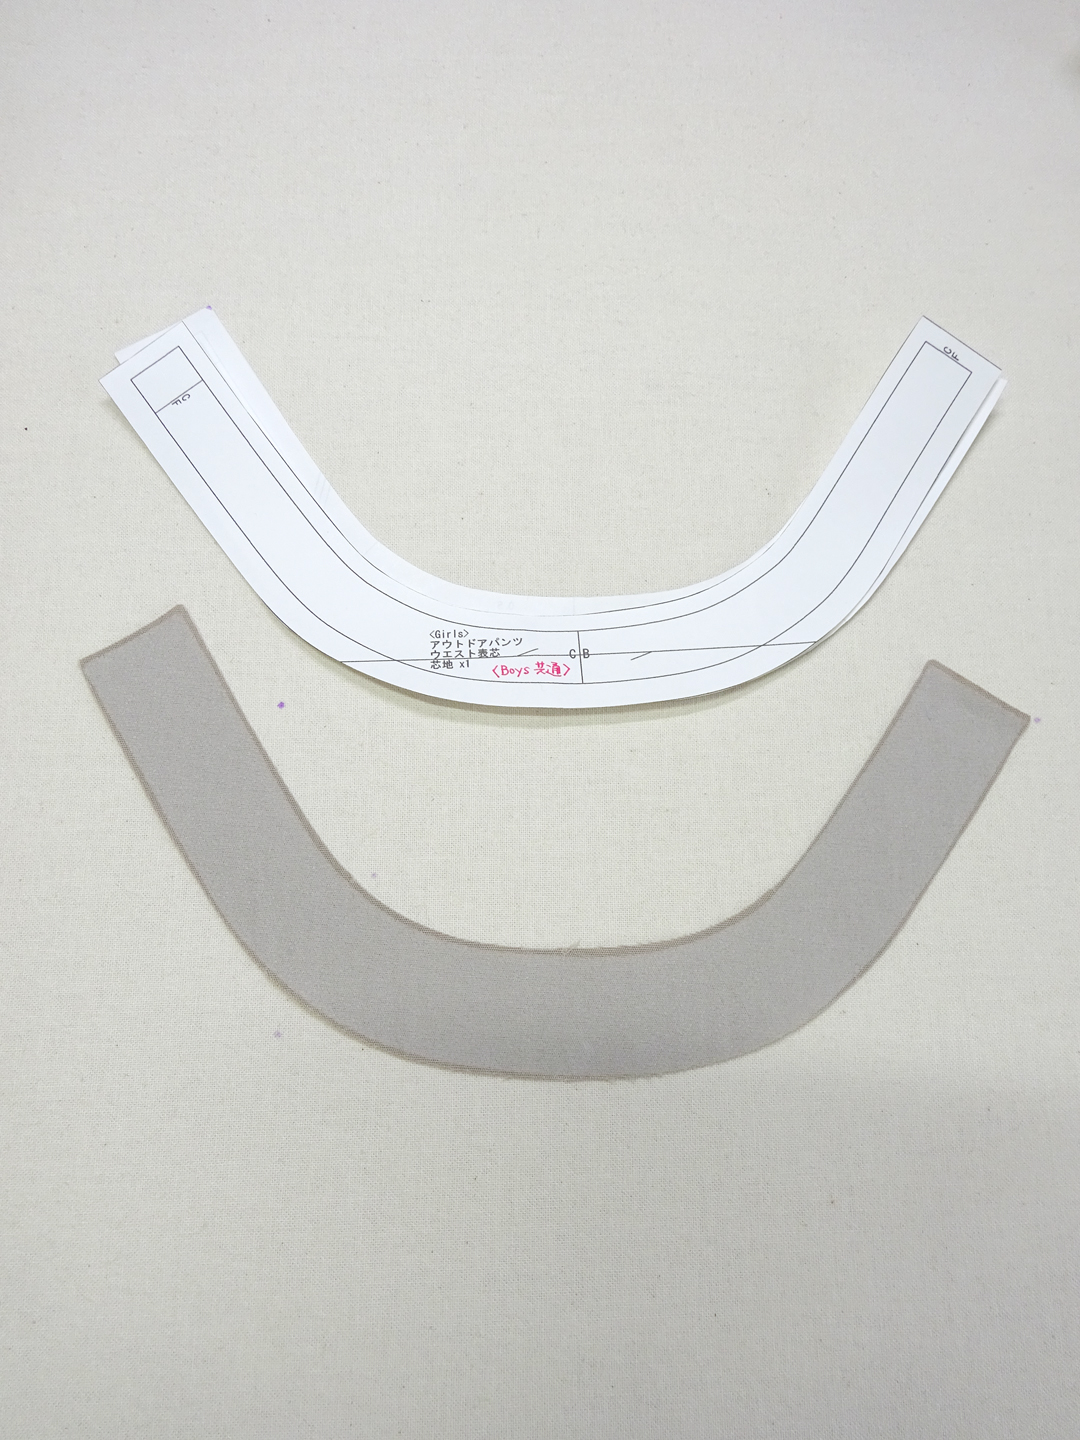
First, I apply fusible interfacing to the wrong side of the outer waist piece. Using parchment paper under the iron helps protect it if the interfacing is placed incorrectly.
まずはウエスト表パーツの裏側に接着芯を貼ります。クッキングシートを当ててアイロンをかけると、接着芯の貼り間違い時も安全です。

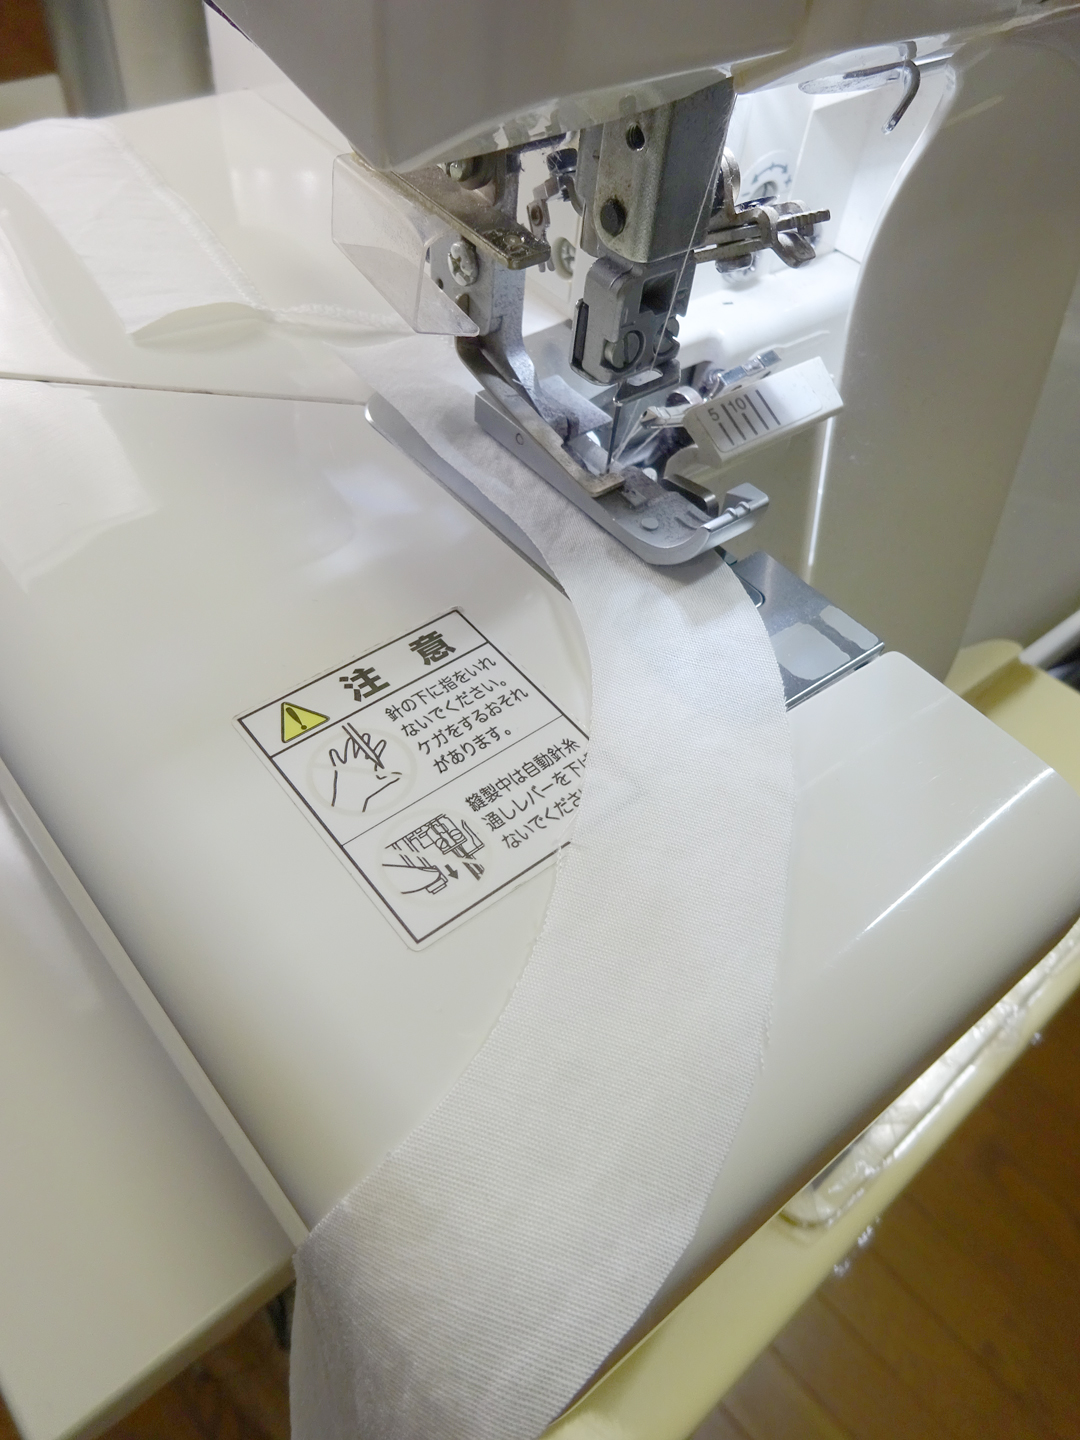
I finish the lower edge of the inner waistband with a serger.
ウエスト裏パーツの下端をロック処理します。
I mark the positions of the finished corners on the wrong side of the outer waistband. (This helps achieve clean, accurate corners.)
ウエスト表パーツの裏側に、仕上がりの角になる位置で印を付けます。(角の仕上がり精度を高めるため)

I place the outer and inner waist pieces right sides together and stitch along the seam line.
ウエスト表パーツとウエスト裏パーツを中表にし、仕上がり線を地縫いします。
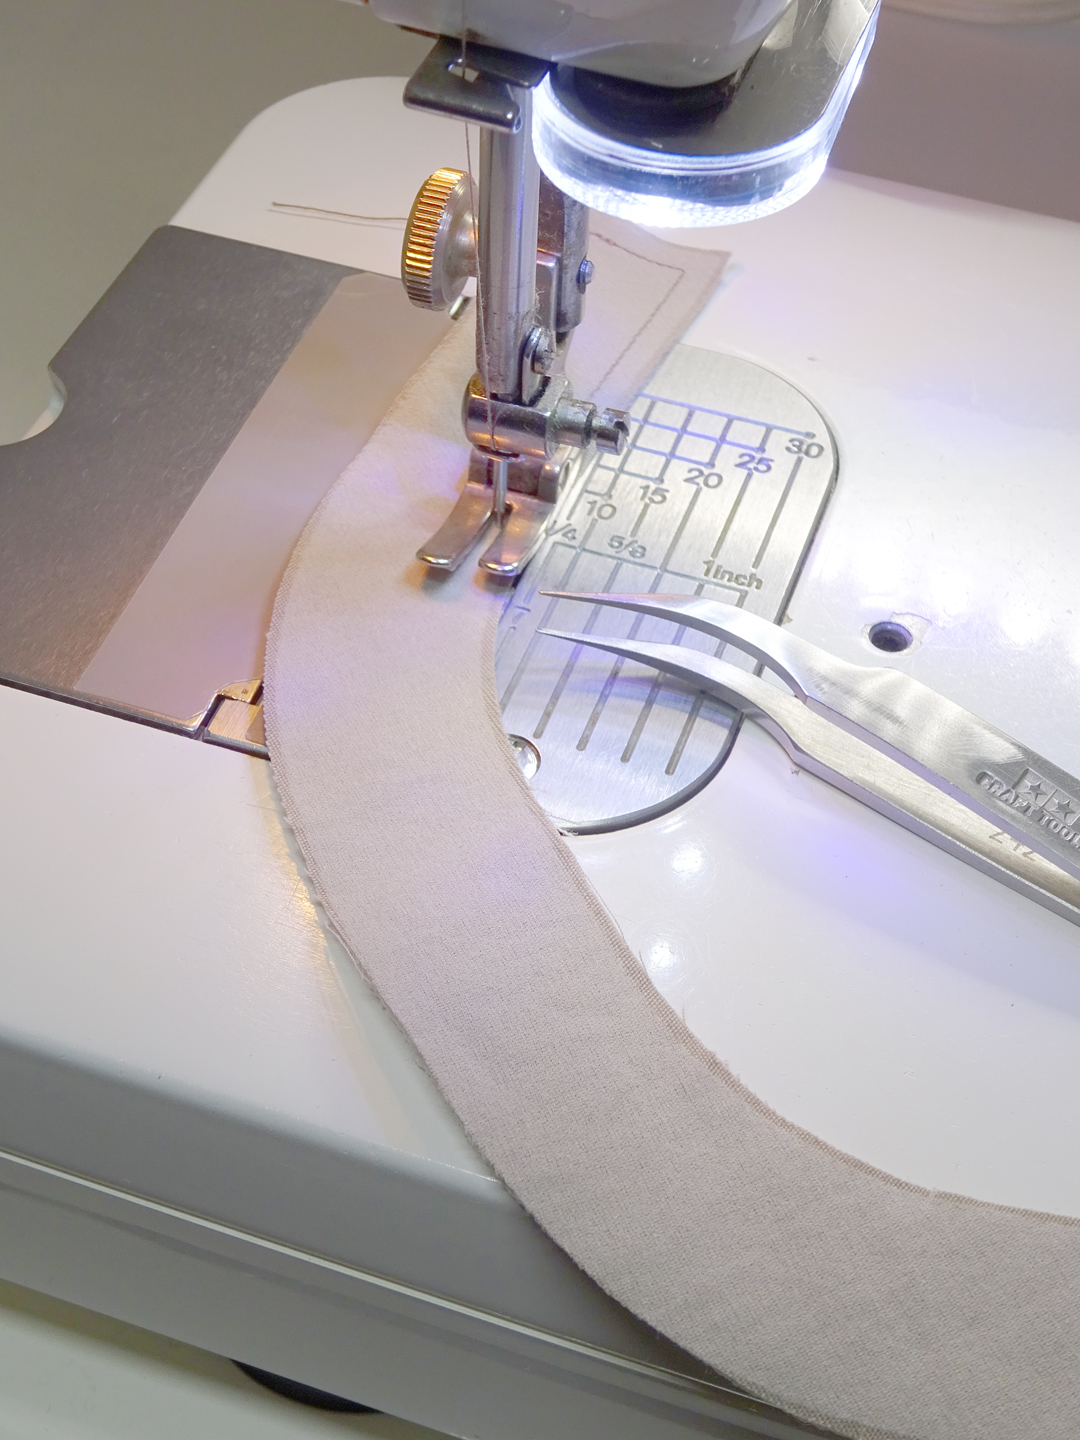
On the front (fly) side, I start and stop stitching past the seam allowance for attaching to the pants.
前開き側は、パンツとの縫い代分を除いた位置から縫い始めと縫い終わりにします。
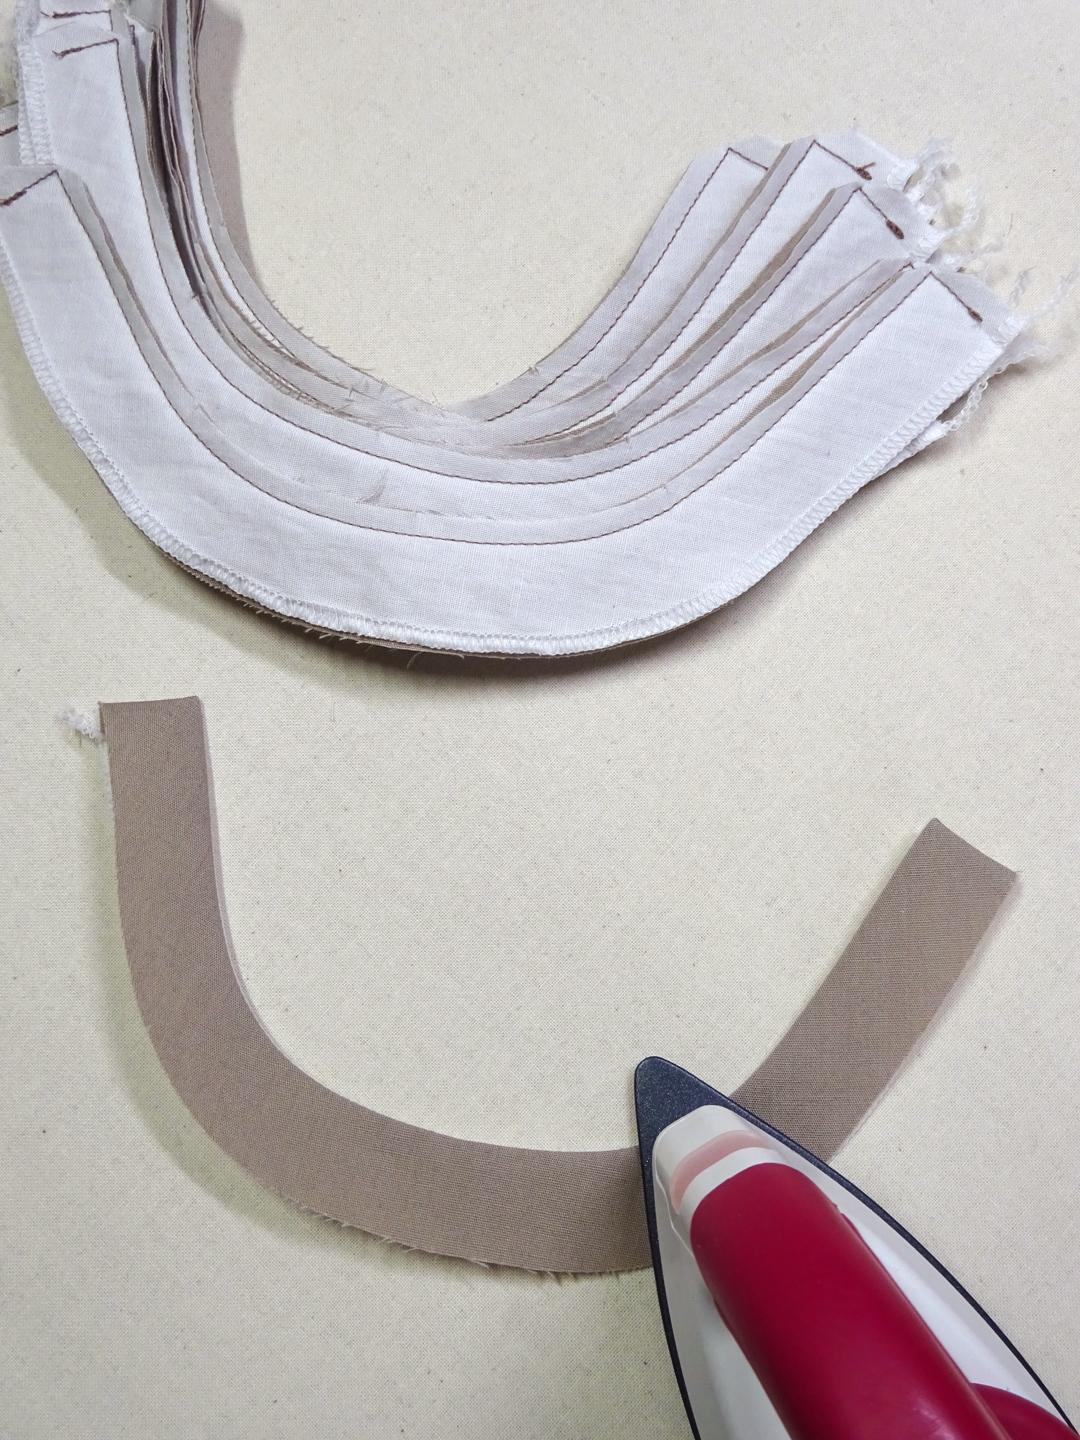
I trim away the excess seam allowance to shape the corners neatly.
角をきれいに整形するため、余分な縫い代をカットします。
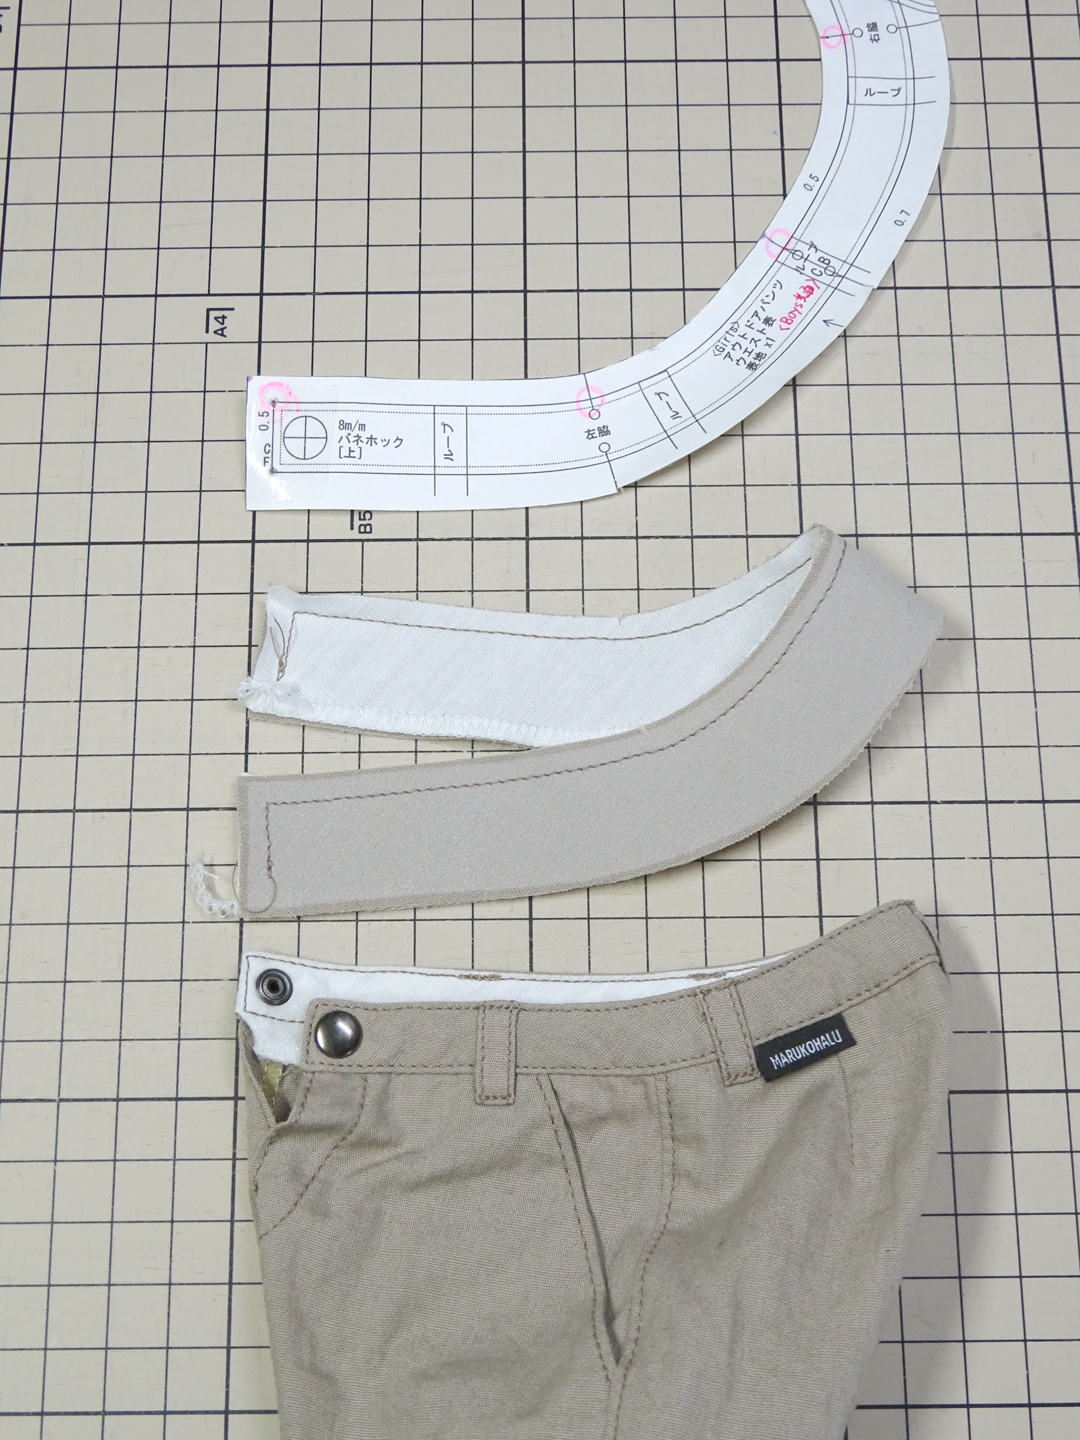
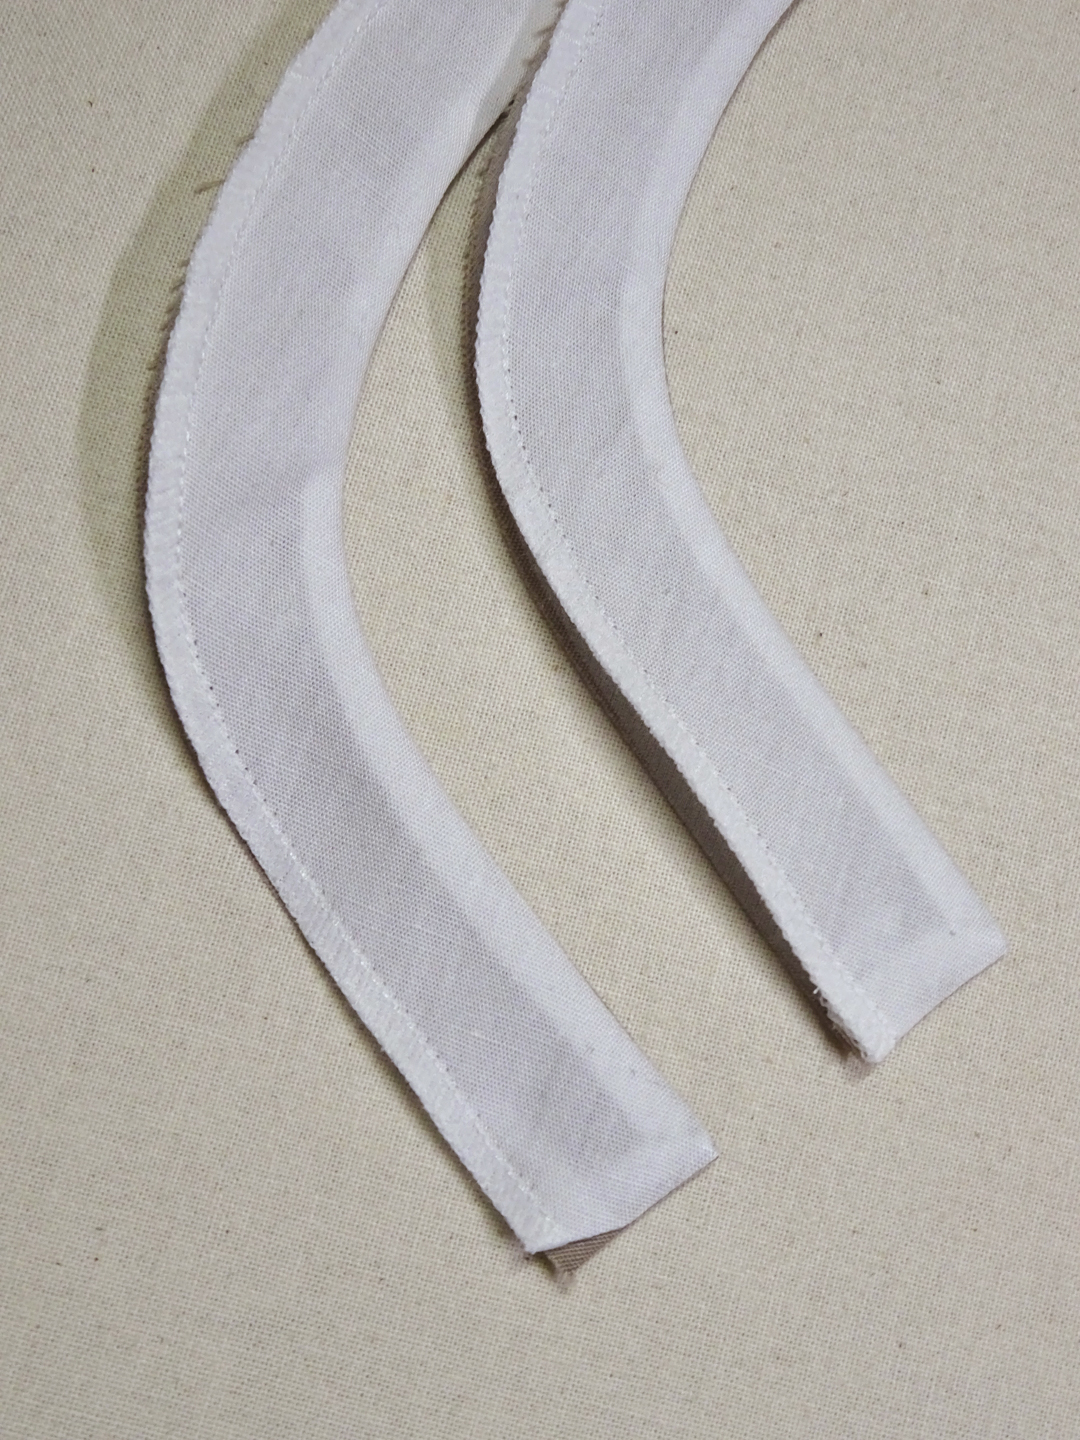
I turn the waist piece right side out.
ウエストパーツを表に返します。
I press the waist piece to shape it.
アイロンで全体の形を整えます。
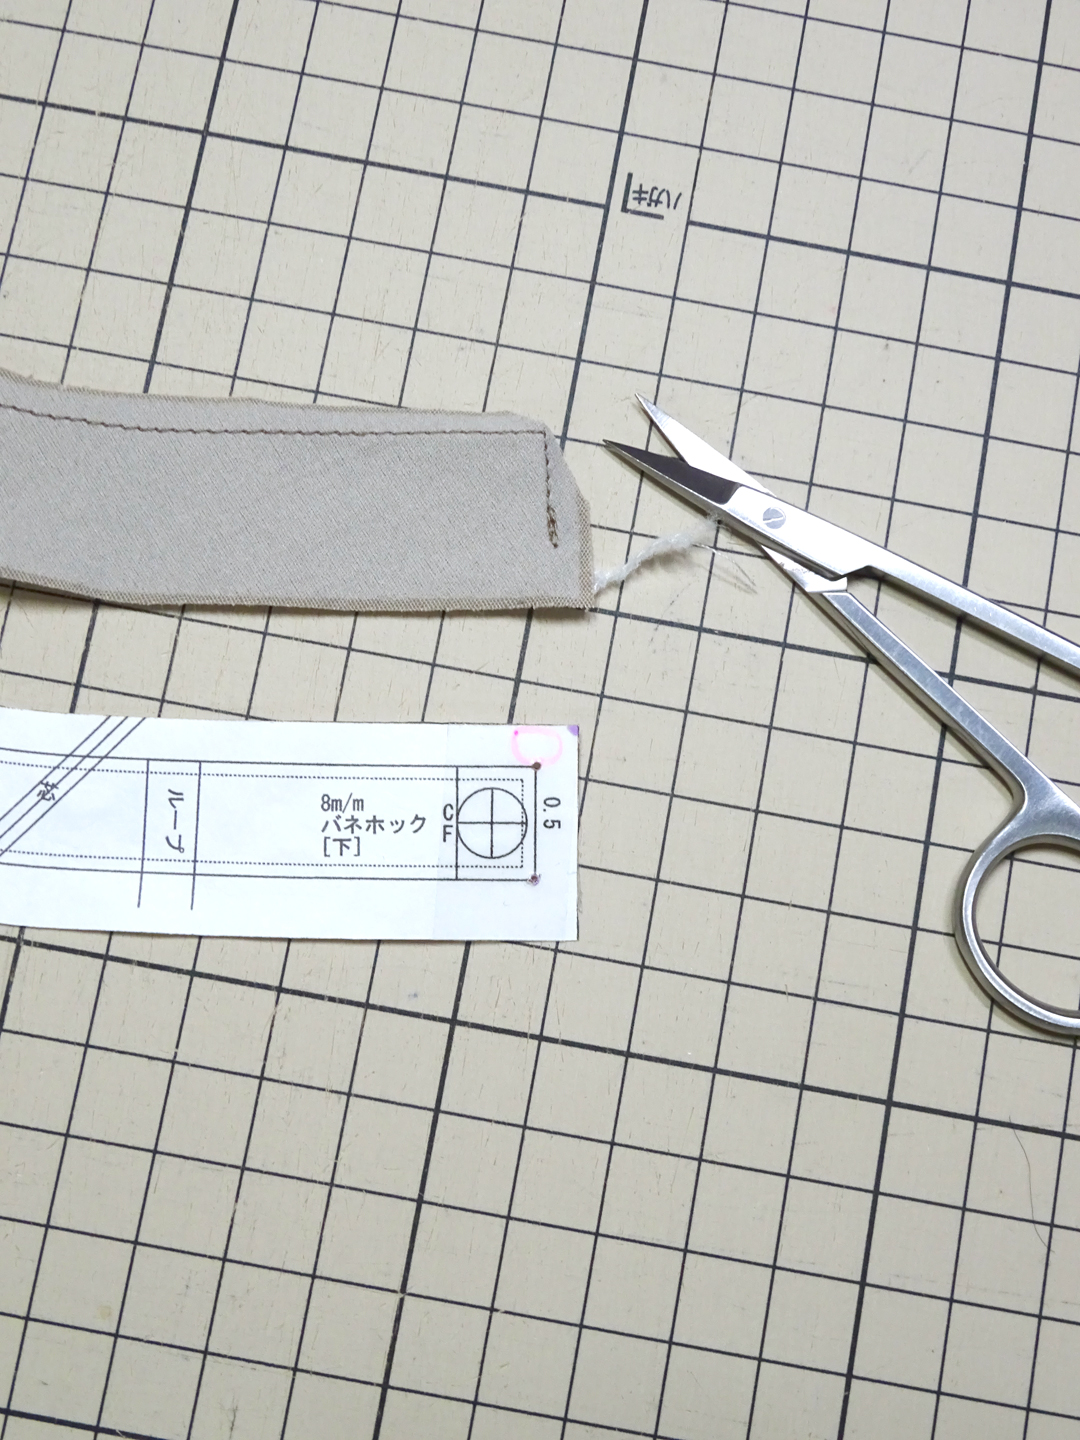
Finally, I fold the seam allowance at the lower front edge of the inner waist piece diagonally (to keep it from showing on the right side).
最後に、ウエスト裏パーツの前下端の縫い代を斜めに折り込みます。(完成時に裏パーツが表にはみ出さないように)
The waist pieces are now ready.
これでウエストパーツの準備は完了です。
🙂