
A trip to the Wind Chime Festival with Ruby—and a little comfort test for this prototype blouse.
試作ブラウスの着心地チェックを兼ねてRubyちゃんと風鈴祭へ。
Continue reading “【Outings with Dolls|ドールとお出かけ】Gosen Hachiman Shrine Wind Chime Festival | 五泉八幡宮 風鈴祭”
July with Smart Girls | 7月のスマートガールズ
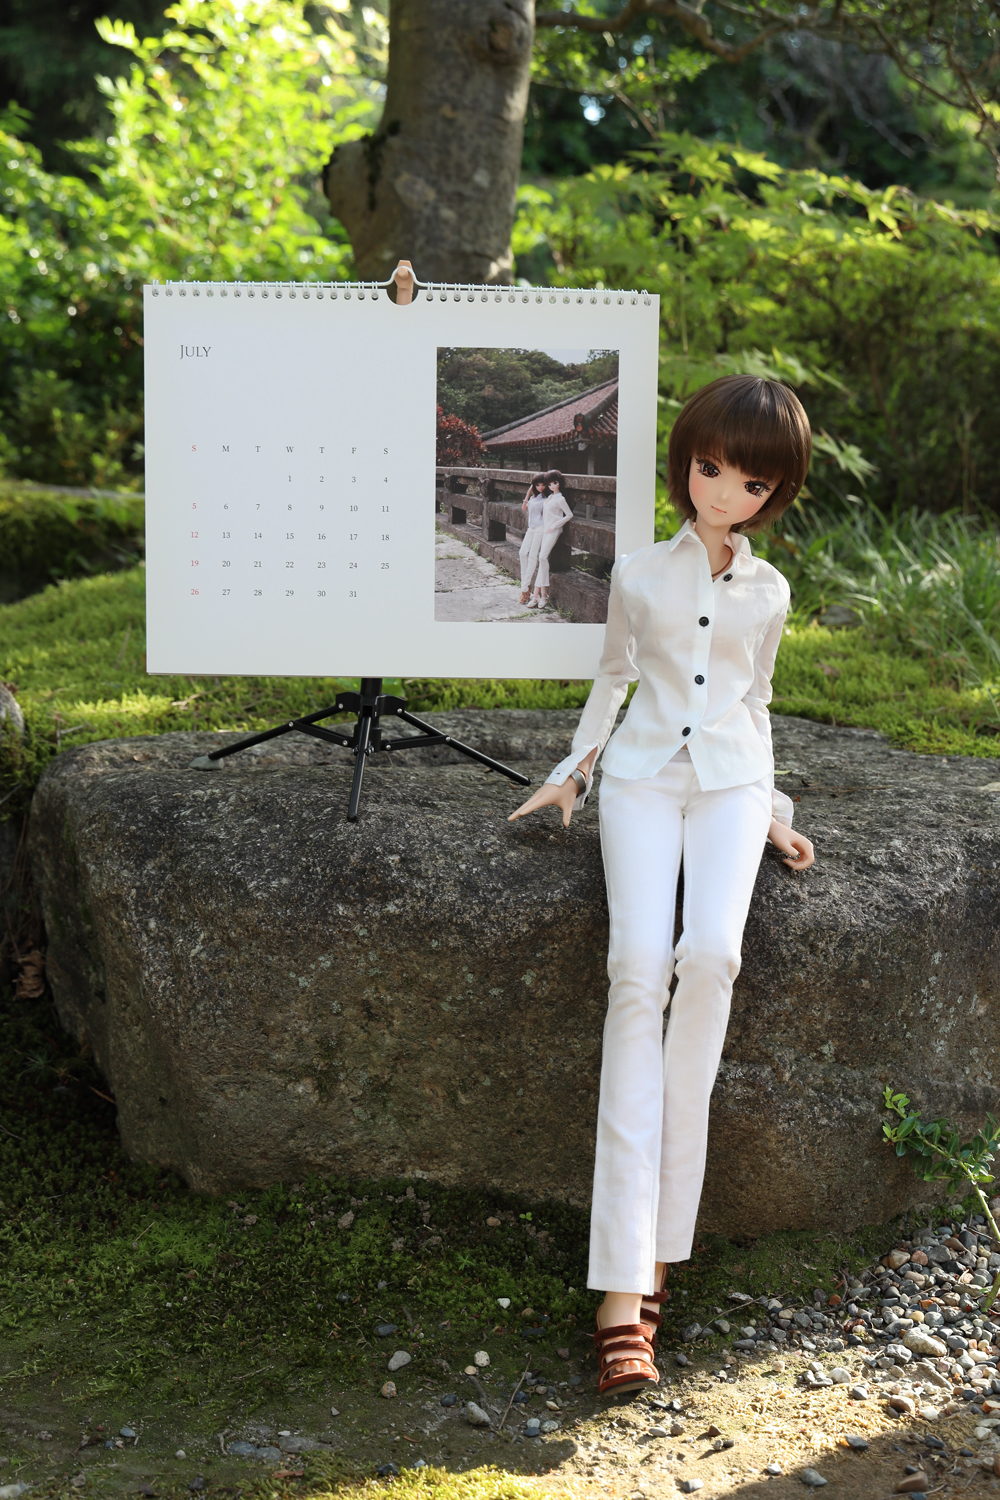
This lovely calendar was a gift from @jurgen_staub -san.
カレンダーは jurgen_staub さんからの贈り物です。
【Outings with Dolls|ドールとお出かけ】 Short hike | ハイキング
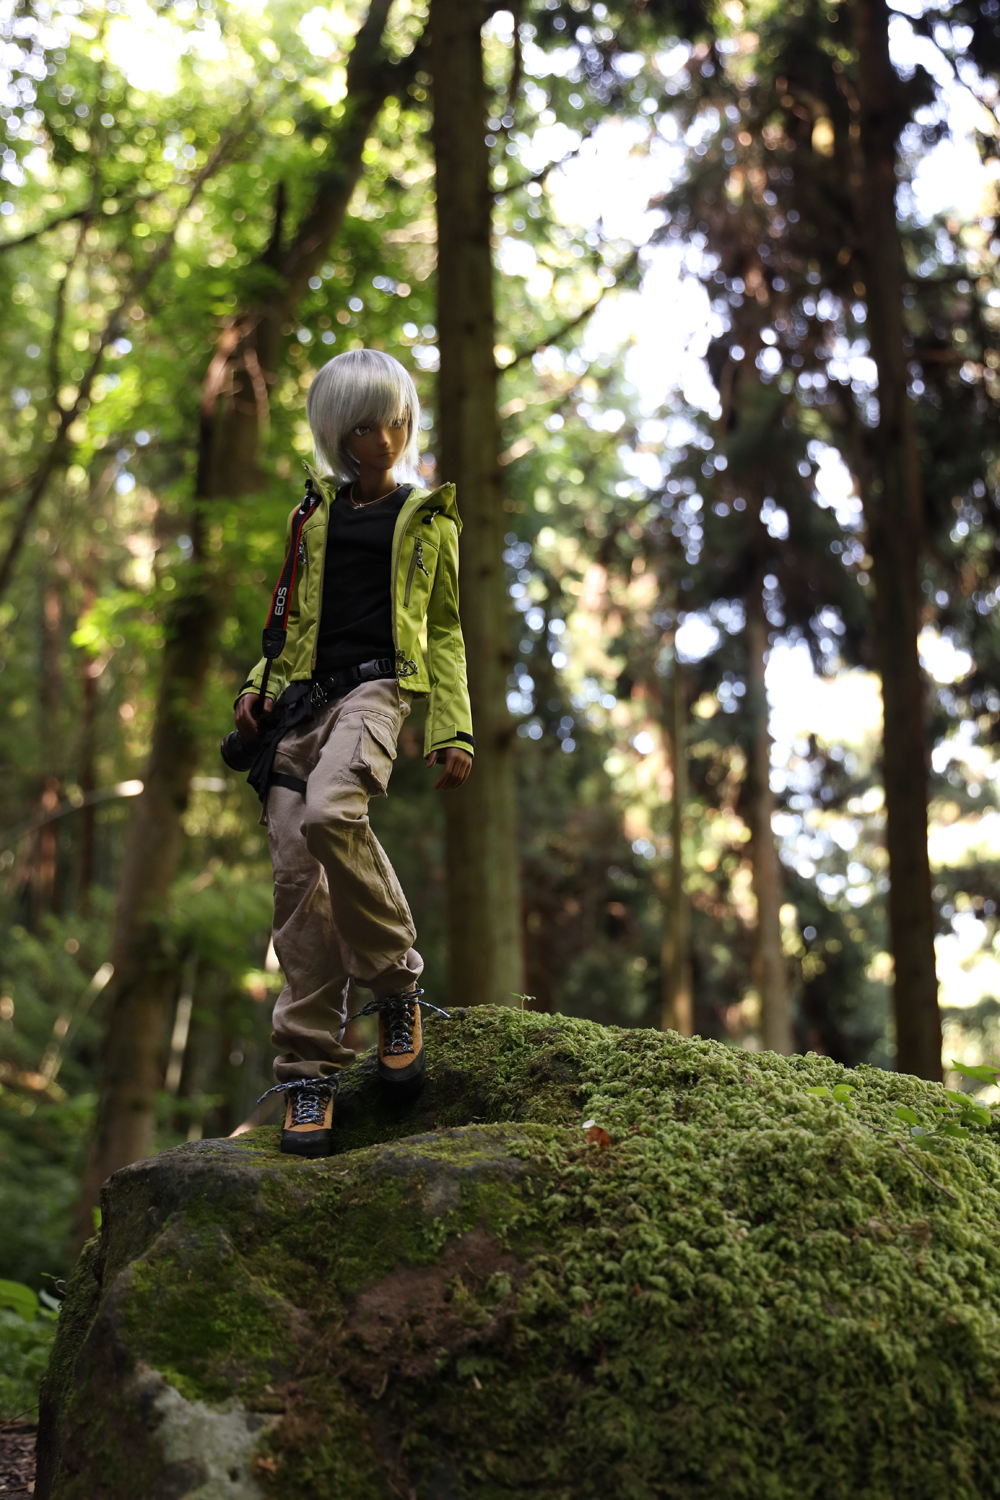
A hike during a break in the rainy season.
梅雨の晴れ間のハイキング。
【A Small Walk | 散歩スナップ】Hydrangeas | あじさい
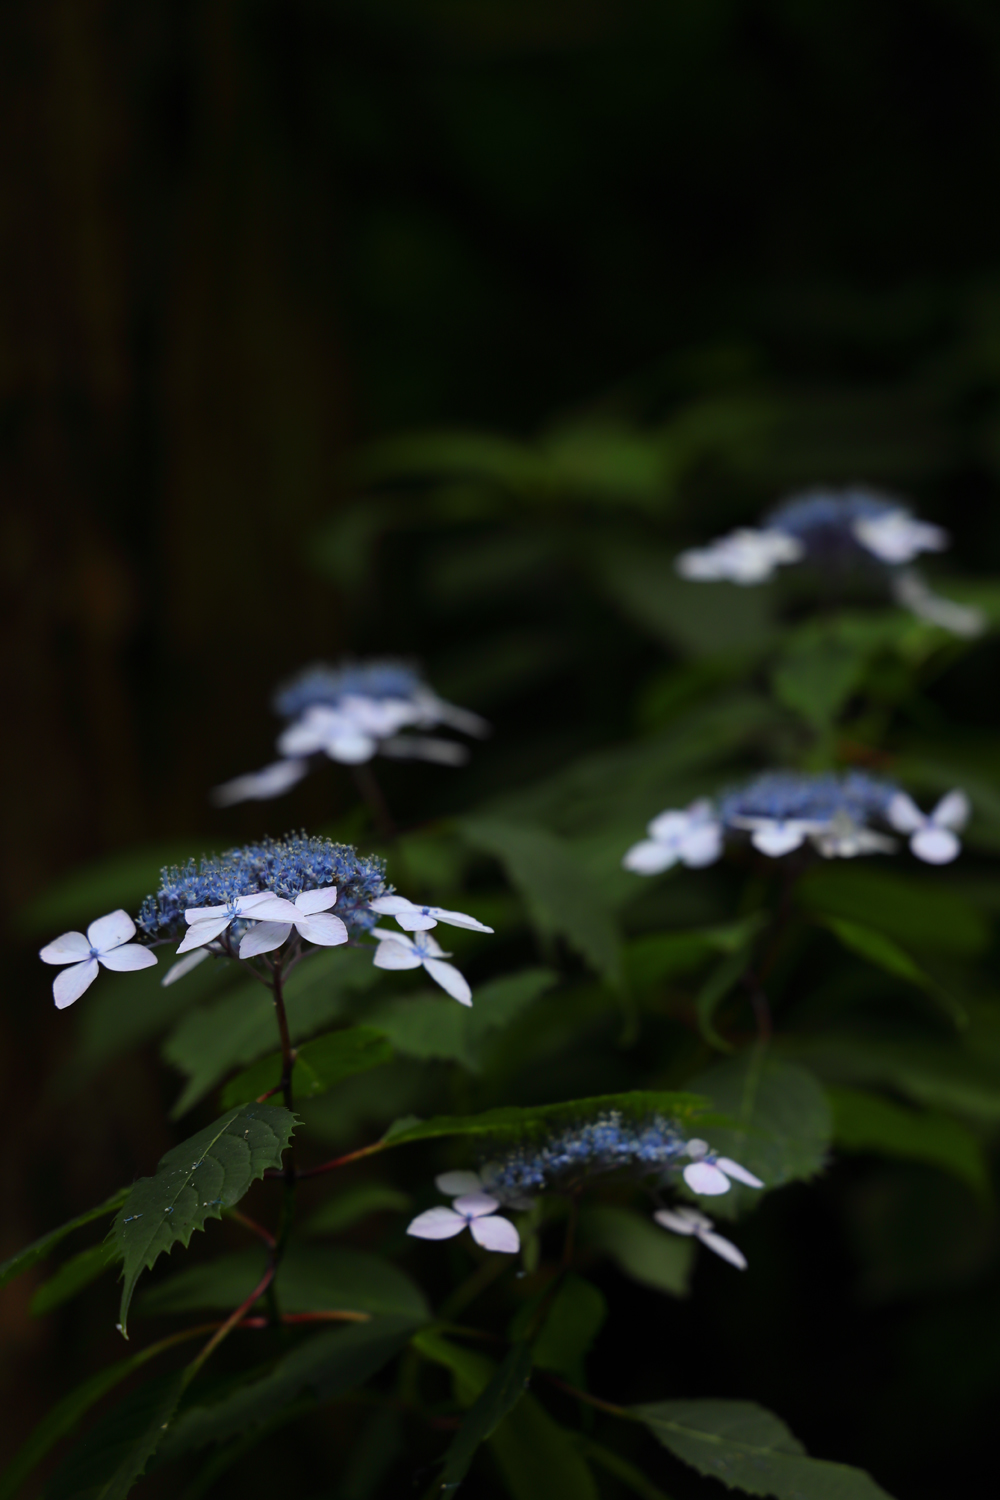
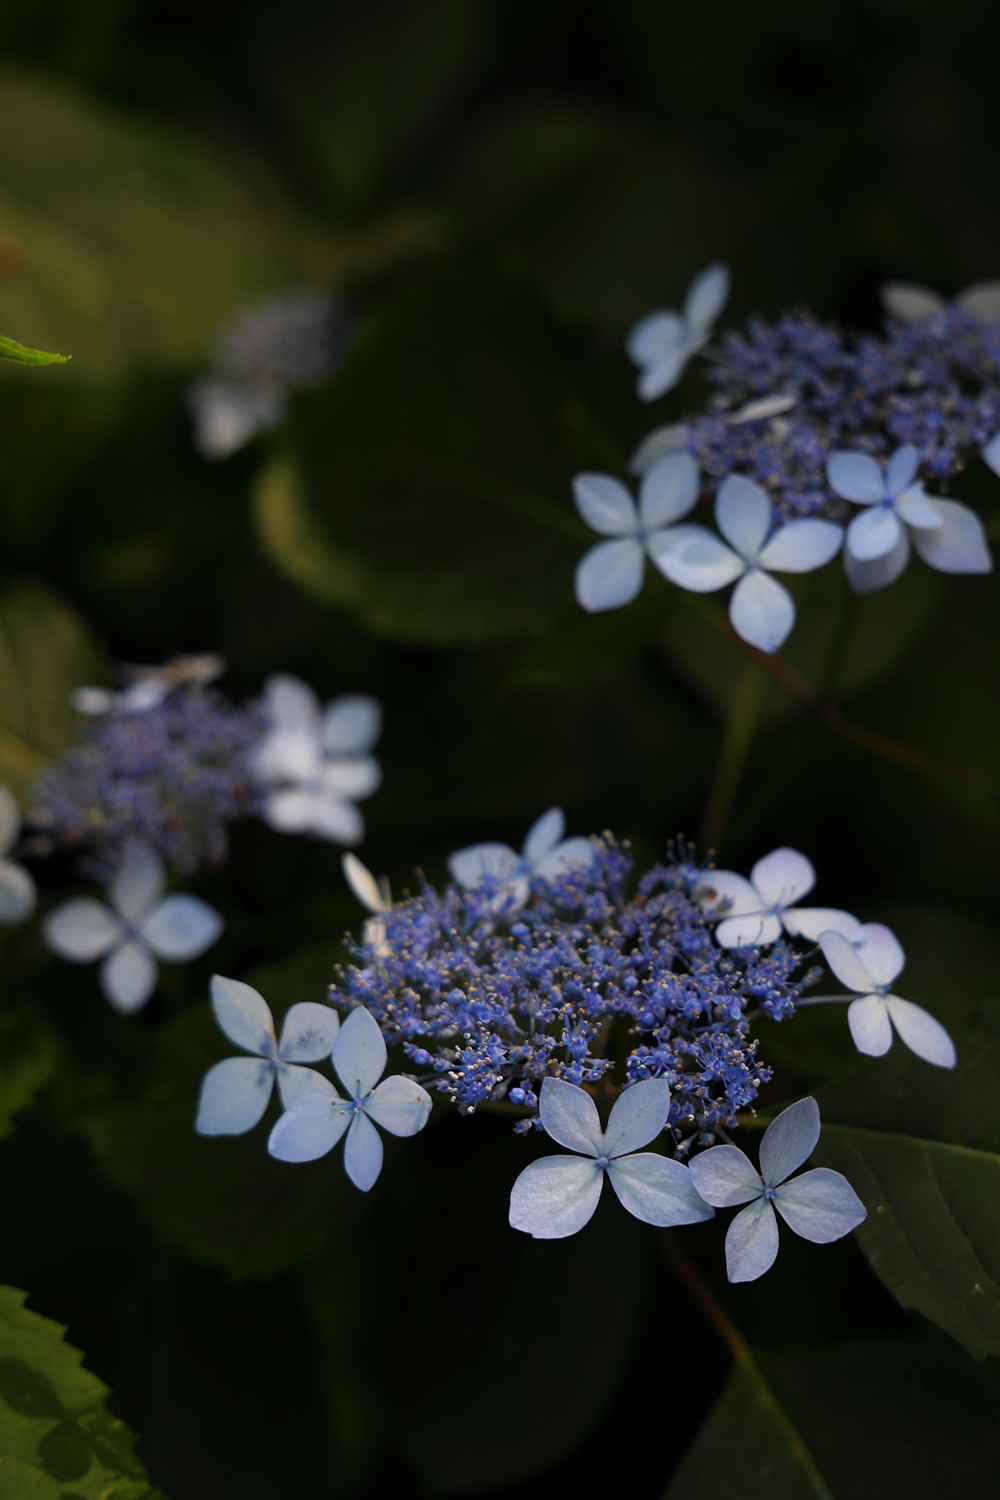
Because the small hydrangeas were so lovely.
小ぶりのあじさいが可愛かったので。
【Prototype | 試作品】Testing a prototype miniature bag for dolls | ドール用ミニチュアバッグ試作品の使用テスト
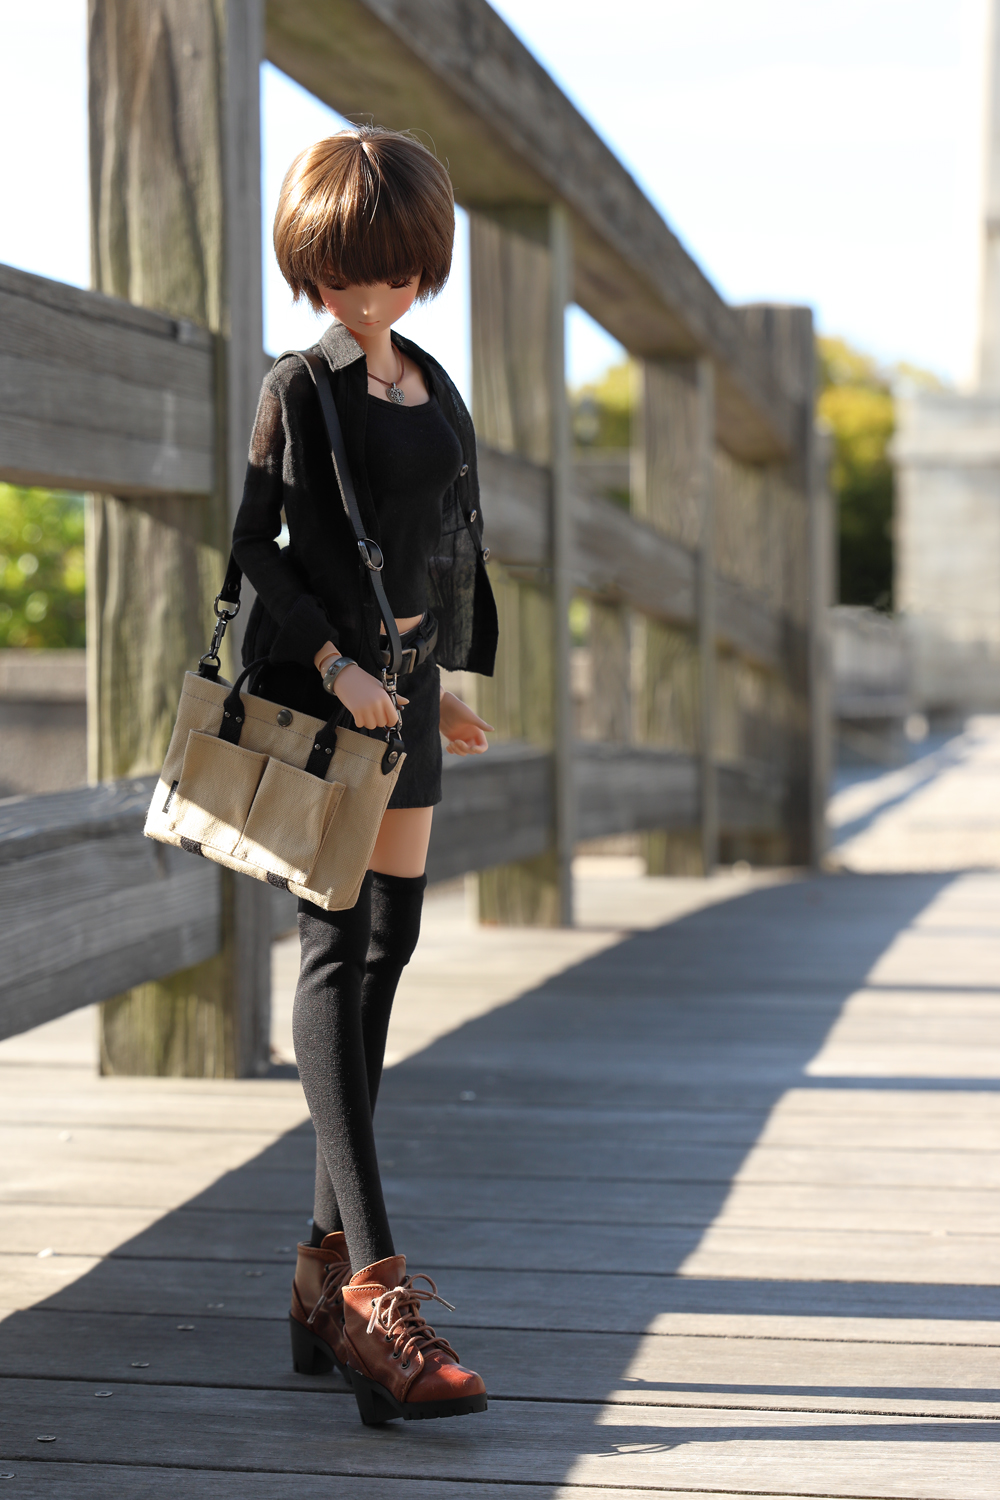
Mei, trying out a prototype canvas bag while out for a walk.
Meiちゃん、散歩しながら試作品の帆布バッグを使ってみているところ。
Continue reading “【Prototype | 試作品】Testing a prototype miniature bag for dolls | ドール用ミニチュアバッグ試作品の使用テスト”