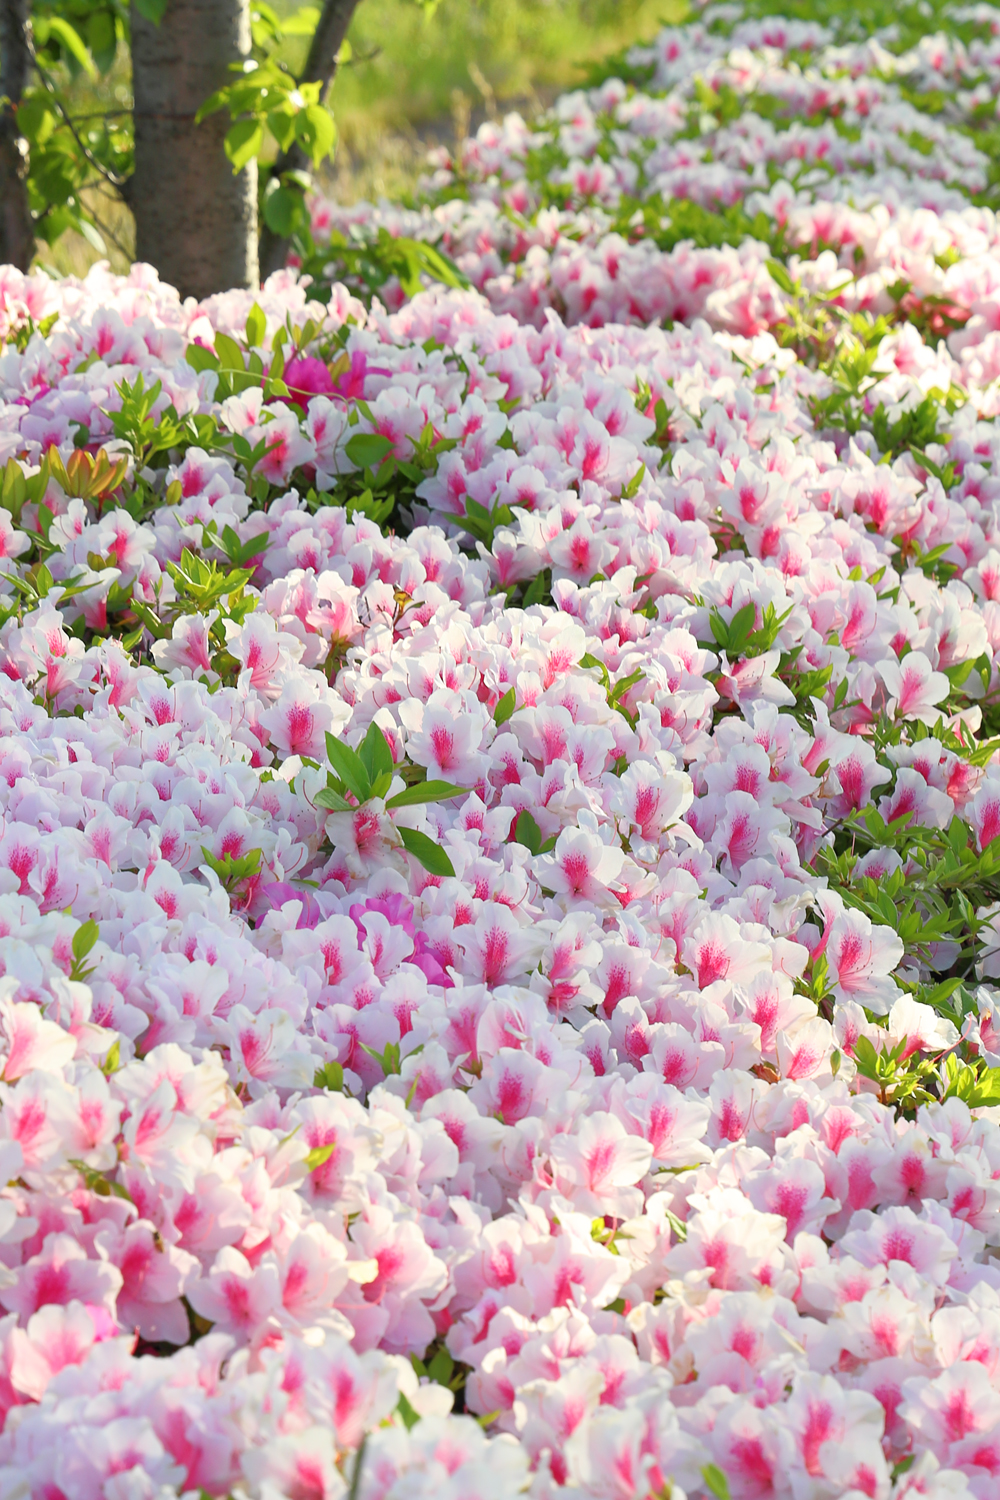
Azaleas are in full bloom.
ツツジが満開。
May with Ruby | 5月のルビーちゃん
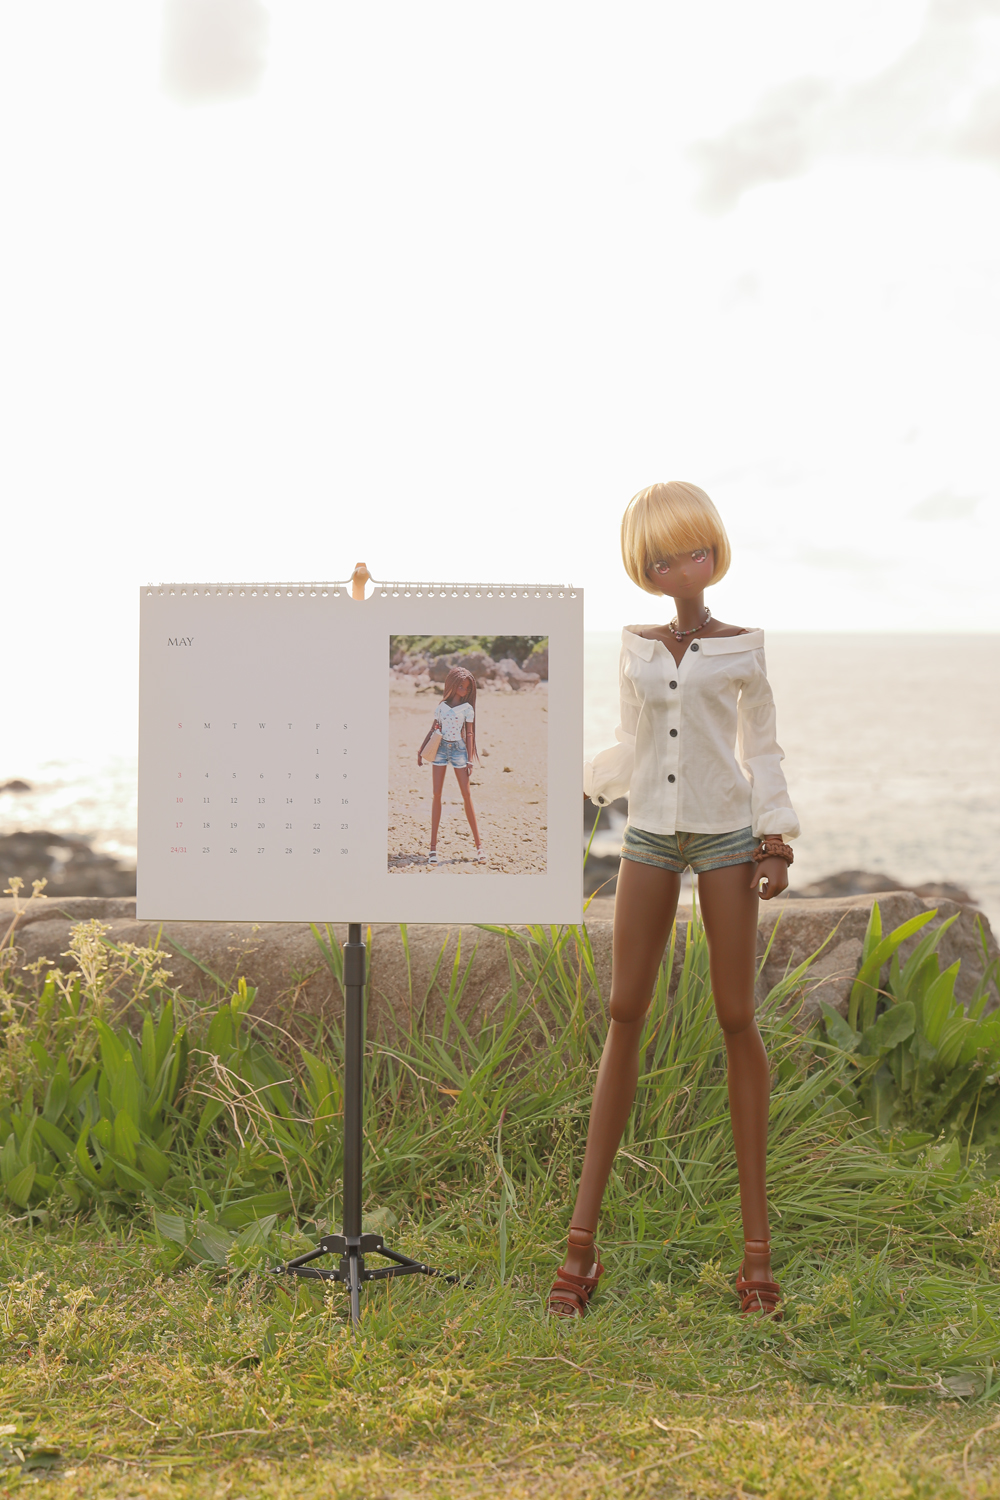
Calendar created by @jurgen_staub -san.
カレンダーは jurgen_staub さん作。
【A Small Walk | 散歩スナップ】Shortly before 6 p.m. | 18時前のこと
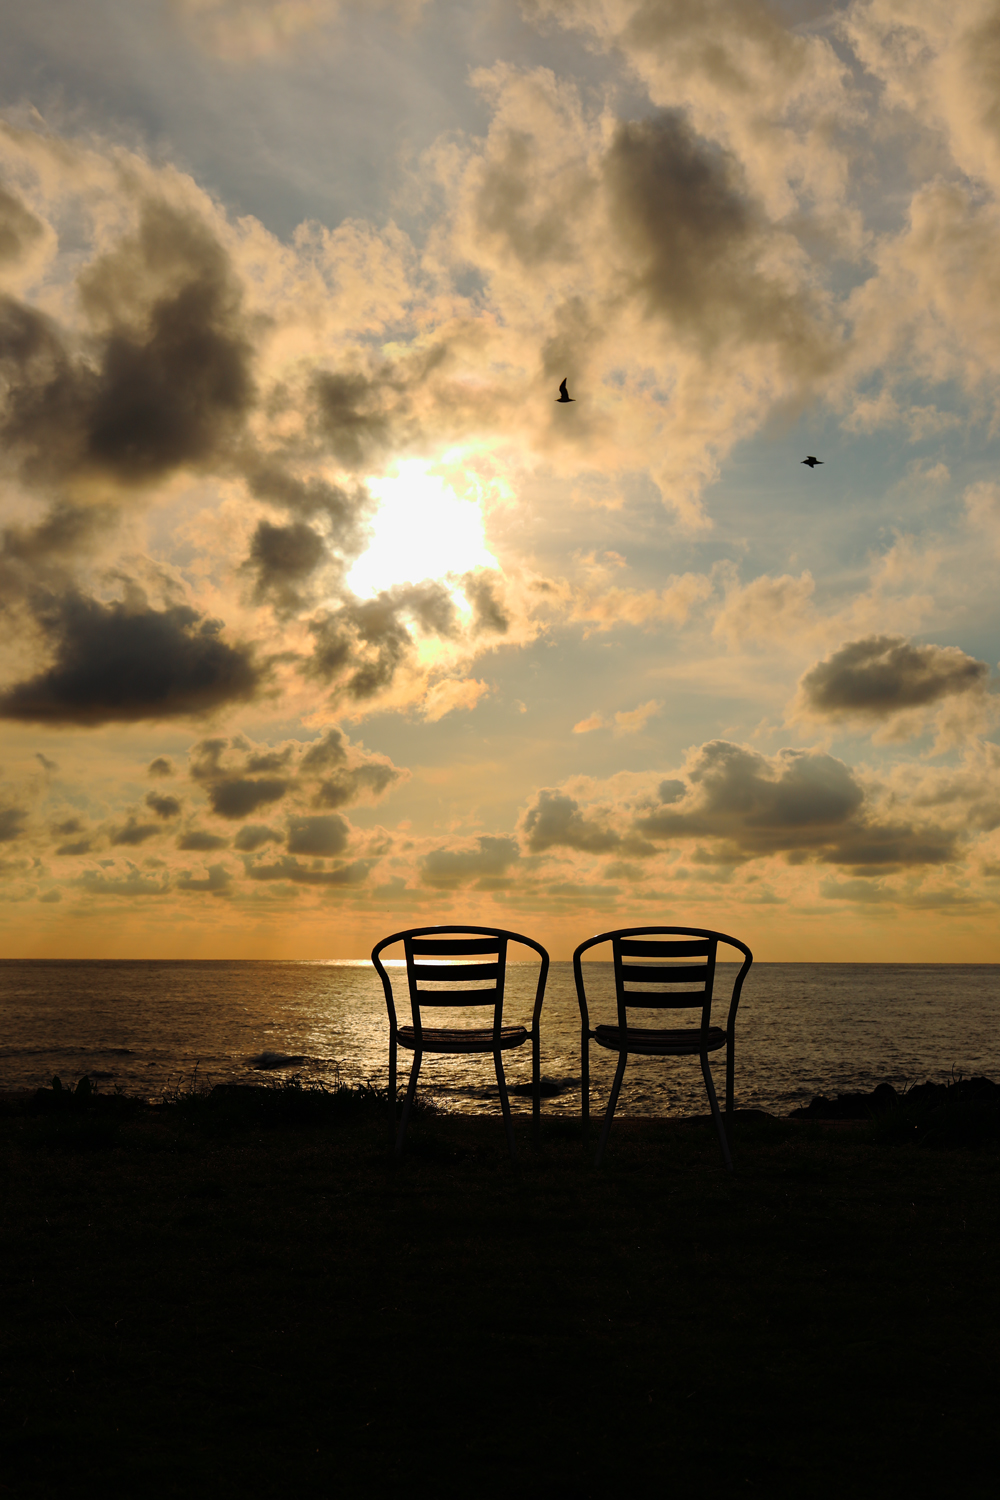
The day is coming to a close.
まもなく、今日が終わります。
【NEWS】Release Announcement | 発売のお知らせ

We’ve released a minimalist combination set, “Zip and Mini.” It is available in five color variations. More details can be found on the shop page.
ミニマルスタイルのコンビネーションセット「Zip and Mini」を発売しました。カラーバリエーションは5種類です。詳細はショップページでご覧いただけます。
SHOP : https://marukohalu.jp/shop
【Outings with Dolls|ドールとお出かけ】Classic Car Festival | オールドカーフェスティバル in ゆらら

Off to the Classic Car Festival with Chi.
ちーさんとオールドカーフェスティバルへ。
Continue reading “【Outings with Dolls|ドールとお出かけ】Classic Car Festival | オールドカーフェスティバル in ゆらら”